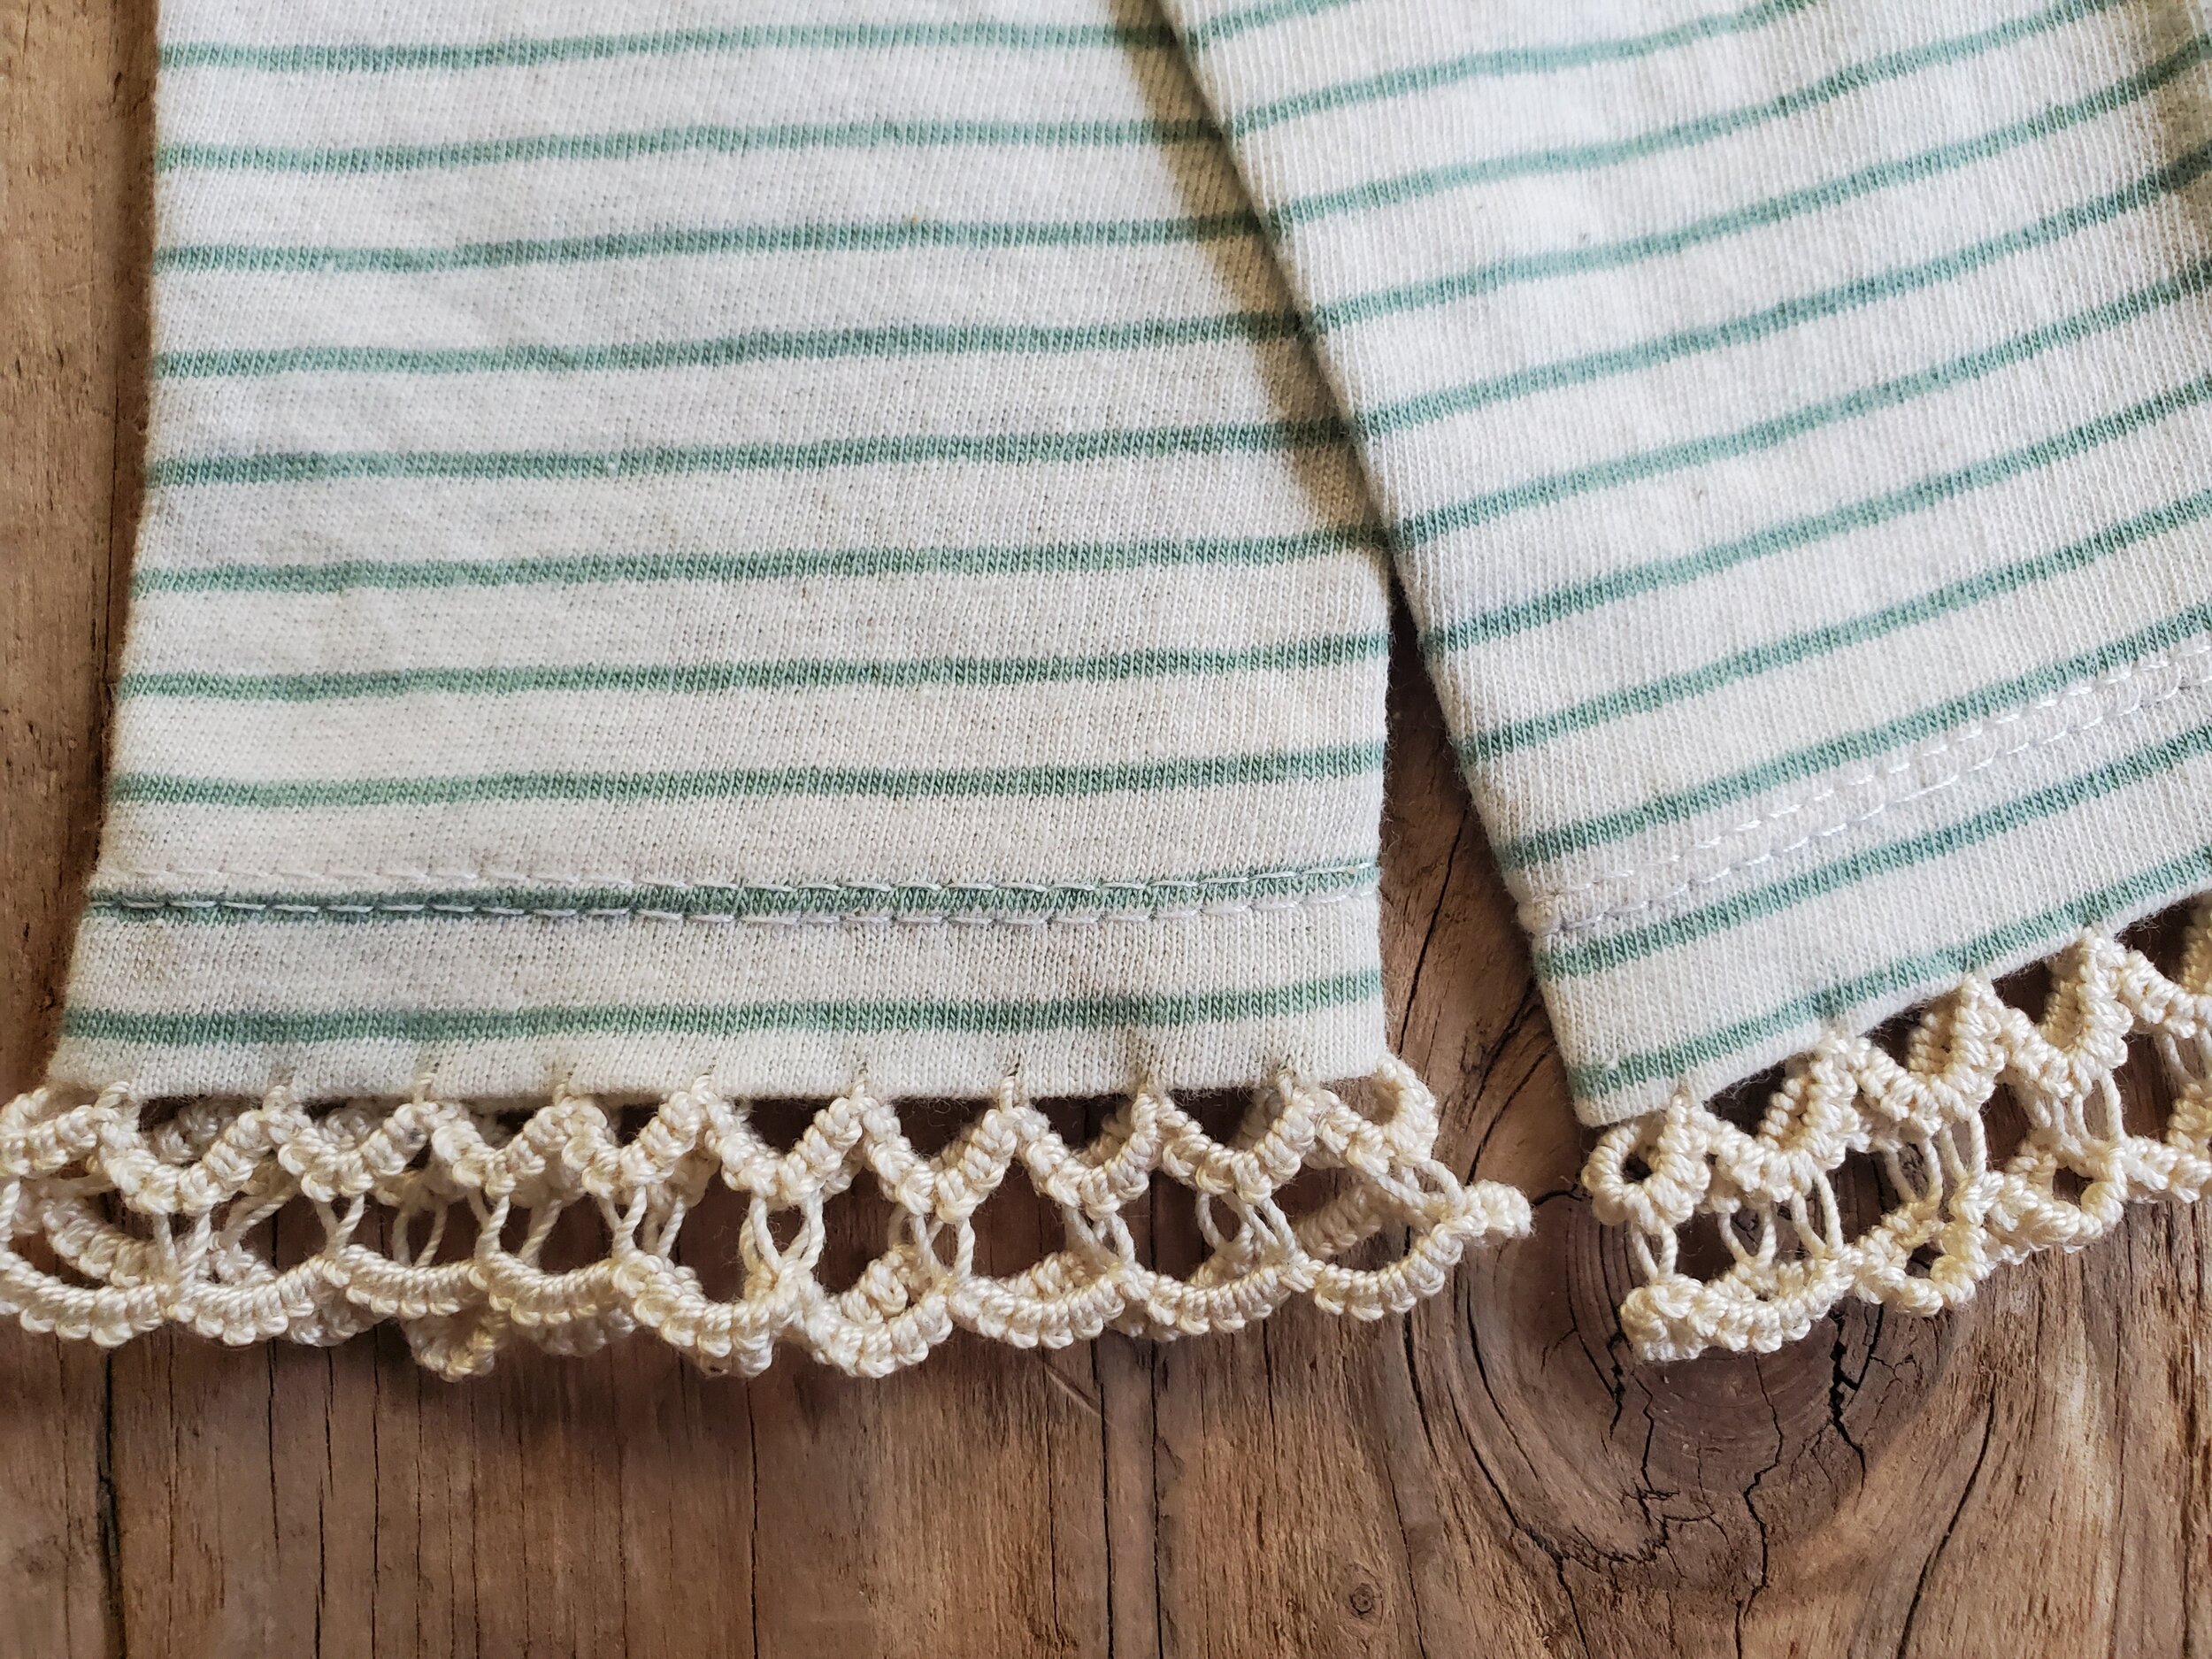
Free Tatting Pattern: "Easy Wash" Edging (with Full Project Tutorial)

Supplies:
Size 10 thread (or desired size)
Size 5 needle (or appropriated size for thread gauge used)
Scissors
Iron
Pattern:
Round(RND) One
Ch. 3ds, p, 3ds, att (attach to fabric edge)
* Ch. 3ds, p, 3ds, att ( to fabric edge ¼” as desired, from previous att)**
Repeat from *to** until reach desired length for straight edging, or if completing a circular edging, ¼” from first Ch made
If making straight edging, finish RND by: double knotting thread, cut thread, and hide thread ends
If making circular edging, finish RND by: Ch 3ds, p, 3ds, att ( to fabric at base of 1st Ch made).
Double knot thread, cut thread, and hide thread ends
Round (RND) Two
Ch 6ds, j (to any free p of 1st RND), knot
*Ch 6ds, j ( to next free p of 1st RND), knot**
Repeat from *to** until there are no free picots on 1st RND
If making straight edging, finish RND by: double knotting thread, cut thread, and hide thread ends
If making circular edging, finish RND by: Ch 6ds, att ( to base of 1st Ch of 2nd RND made).
Double knot thread, cut thread, and hide thread ends
Iron
VIDEO TUTORIAL:
*If at any point this video is moving too fast for you, and you would like to take it slower, to get a better look at what I just did or follow along, YouTube has a video speed adjuster/slow motion setting, that is great to make use of. On computers look for “gear” symbol. On Smartphones look for “Three dots” symbol.