Free Tatting Pattern: Tatted Christmas Ornament Cover (Full Tutorial)
In the video below I show how-to make an adjustable tatted cover to fit most round Christmas ornament balls. This is a quick, fun, and festive project! Great for beginners and veteran tatters. Free pattern below video.


*Note: If video moves too slow or fast for your learning style, you can adjust playback speed in the YouTube video “settings.” On your computer – look for “gear” symbol, or on your smartphone – look for “three dot” symbol and then video playback options.
Tatted Christmas Ornament Cover Pattern:
By Katy King
Step One: Top Large Ring
R. ds, p, ds, p, ds, p, ds, p, ds, p, ds, p, ds, p, ds, p, ds, p, ds, p, ds, p, ds, p, ds, p, ds, p, ds, cl (after you have 14 picots separated by 1 double stitch each, loosely close ring to fit around ornament hanger top neck).
Knot, hide thread ends, and cut thread.
Step Two: Bottom Round
R. 4ds, p, 4ds, cl.
Leave 1/2” thread as spacer
*R. 4ds, p, 4ds, cl.
Leave ½” thread as spacer**
Repeat from *to ** until a total of 7 rings (R) made
Leave 1/2” thread spacer
Tie off to top of first R made
Knot, hide thread ends, and cut thread ends
Step Three: Assembling Ornament Cover
Step Three: Assembling Ornament Cover
Place “Top Large Ring” over ornament top hanger neck (with metal hanger removed).
Place and hold “Bottom Round” on bottom/base of round ornament.
Thread tatting needle with 12” tail and roughly 5 feet of thread (cut thread from thread ball).
Tie and knot free end of thread to any free p of “Top Large Ring.”
*Using needle, loop thread through nearest free p of “Bottom Round,” making sure to not pull thread tension too tight (you want thread to form web to hold tatted sections together over ornament, not to pull them together).
Using needle, loop thread through next free p of “Top Large Ring” (try to maintain similar tension in thread forming web throughout).
Continue to use needle, to loop thread through same p as previously on “Bottom Round” and back up to next free p of “Top Large Ring.”**
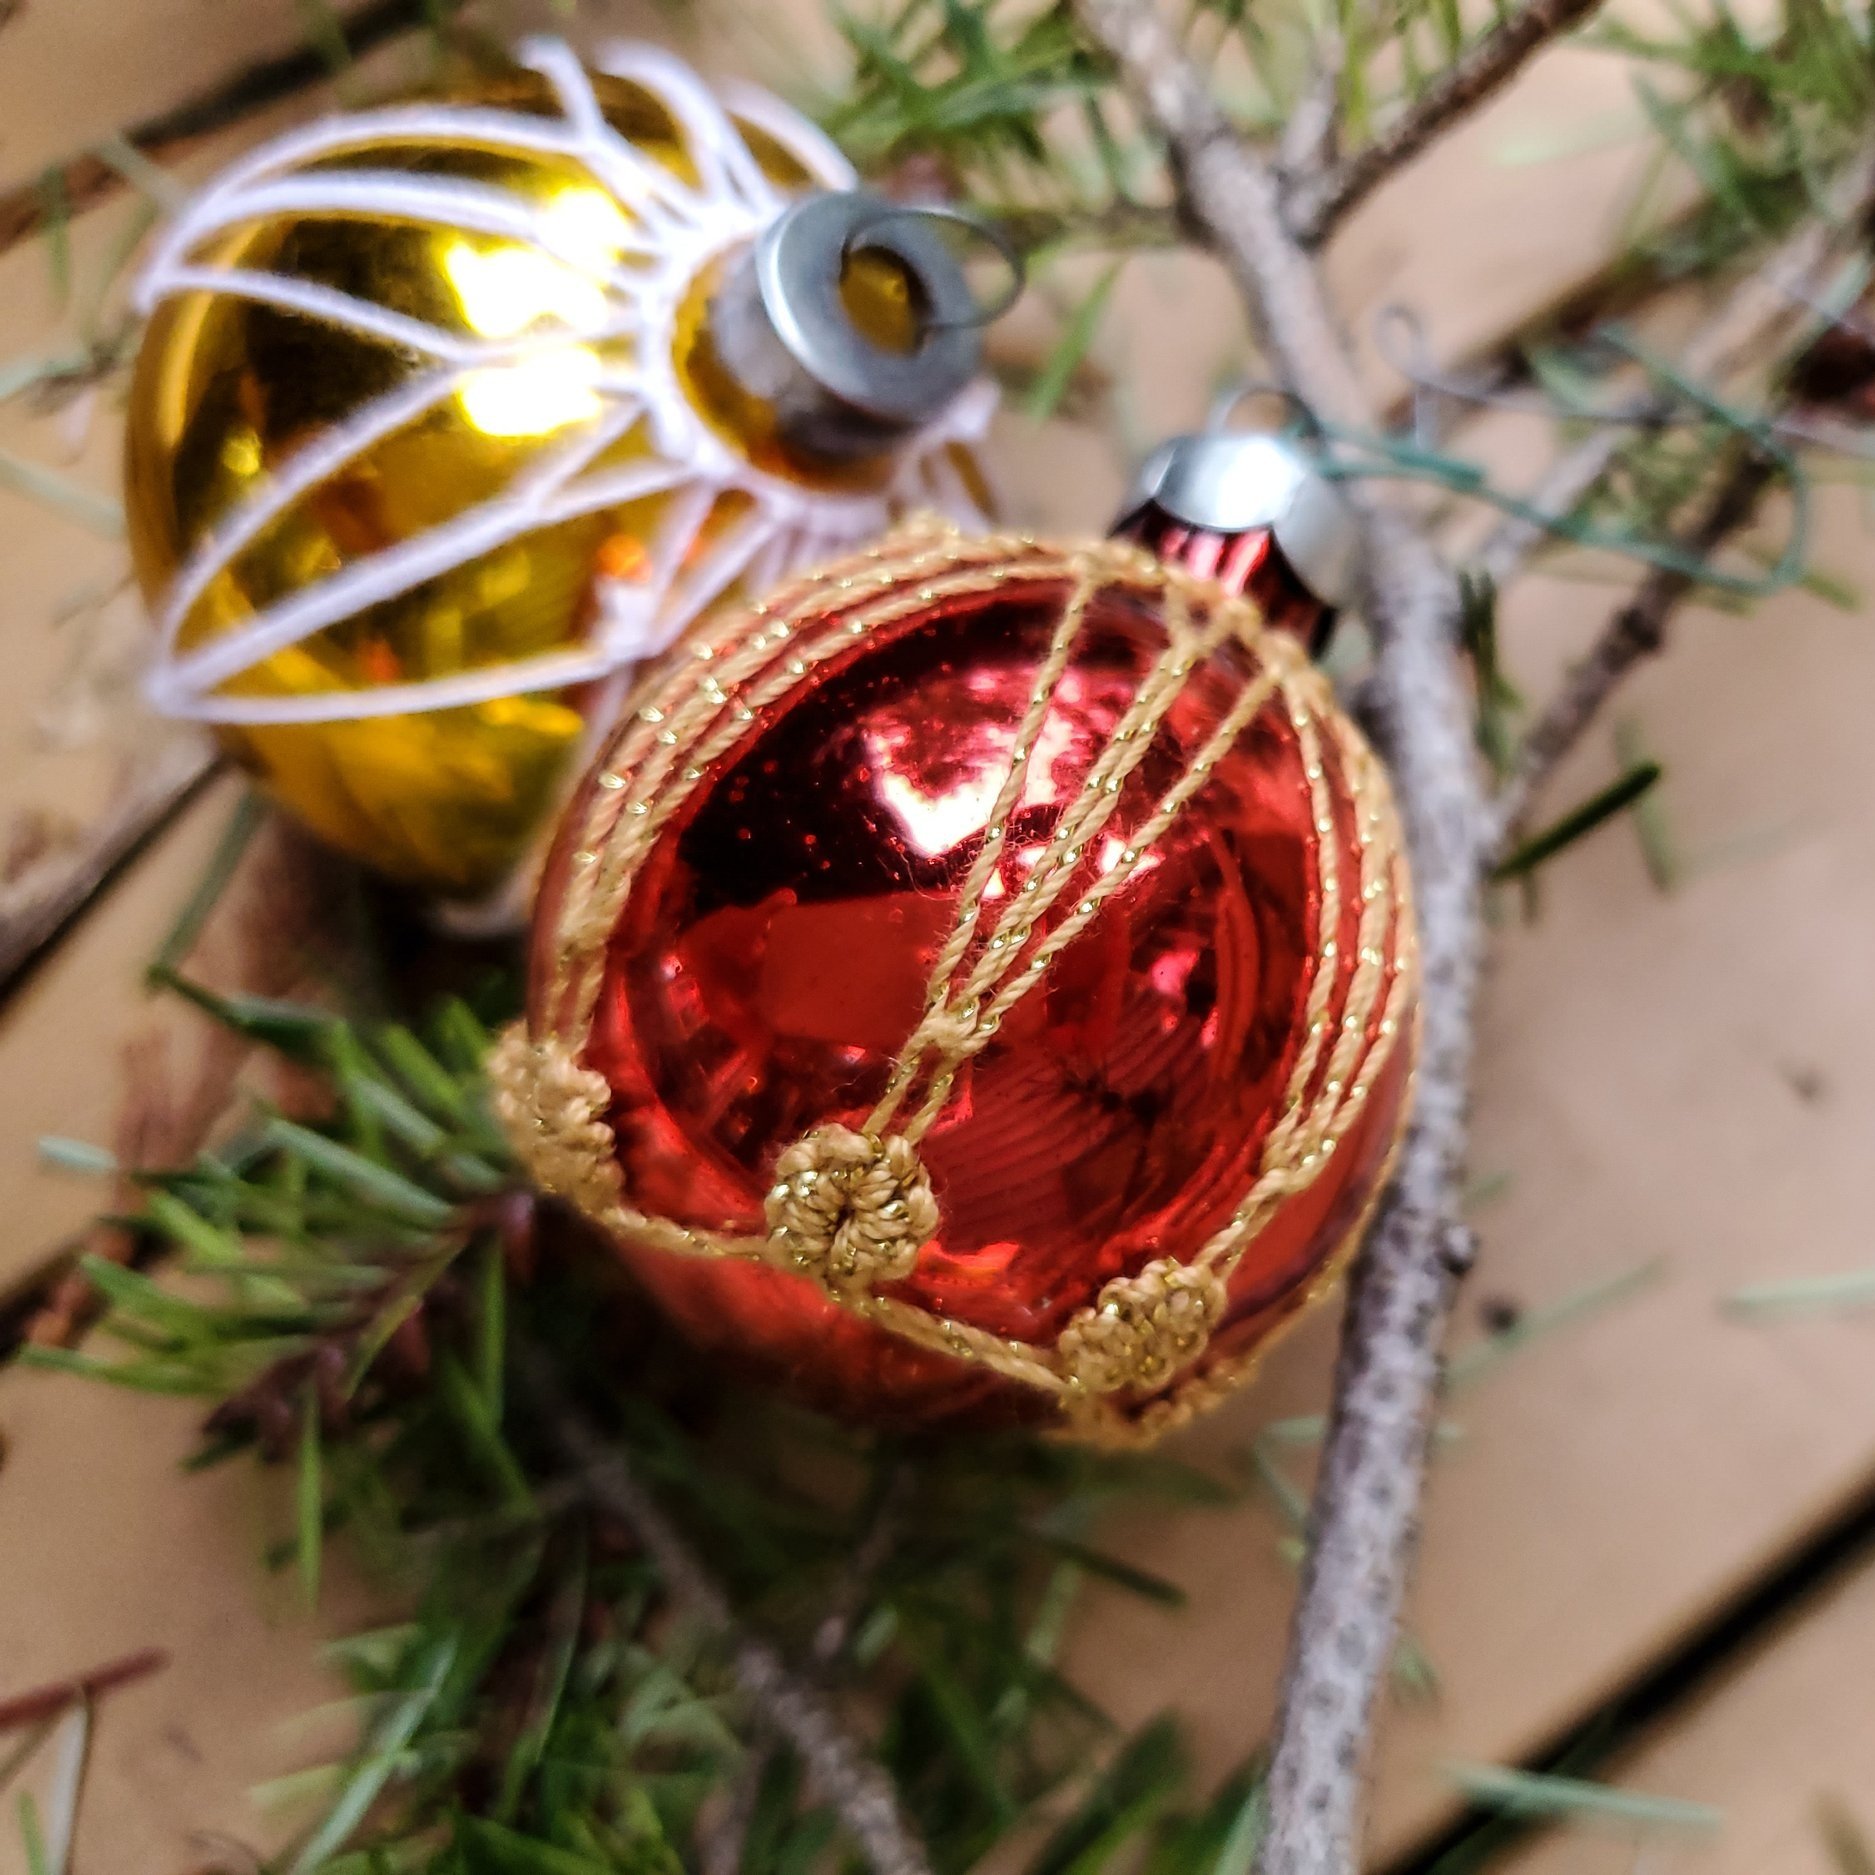
Repeat steps *to** (connecting twice to every p of “Bottom Round” and once to every p of “Top Large Ring”) until all picots are connected by thread web surrounding ornament (It should look almost like the ropes on a hot air balloon).
Leave a thread spacer roughly the same length as your previous thread spacing, then tie and knot to very first p attachment. Knot securely and cut thread ends.
Replace ornament top hanger.